Free Traffic Exchange and Free Hosting
In this weekend project, we’ll be making a tough traveler’s notebook using the Coptic binding method. This unique binding method is one of the oldest in human history, dating back as early as the second century, and allows the book to lay flat when opened to any page.
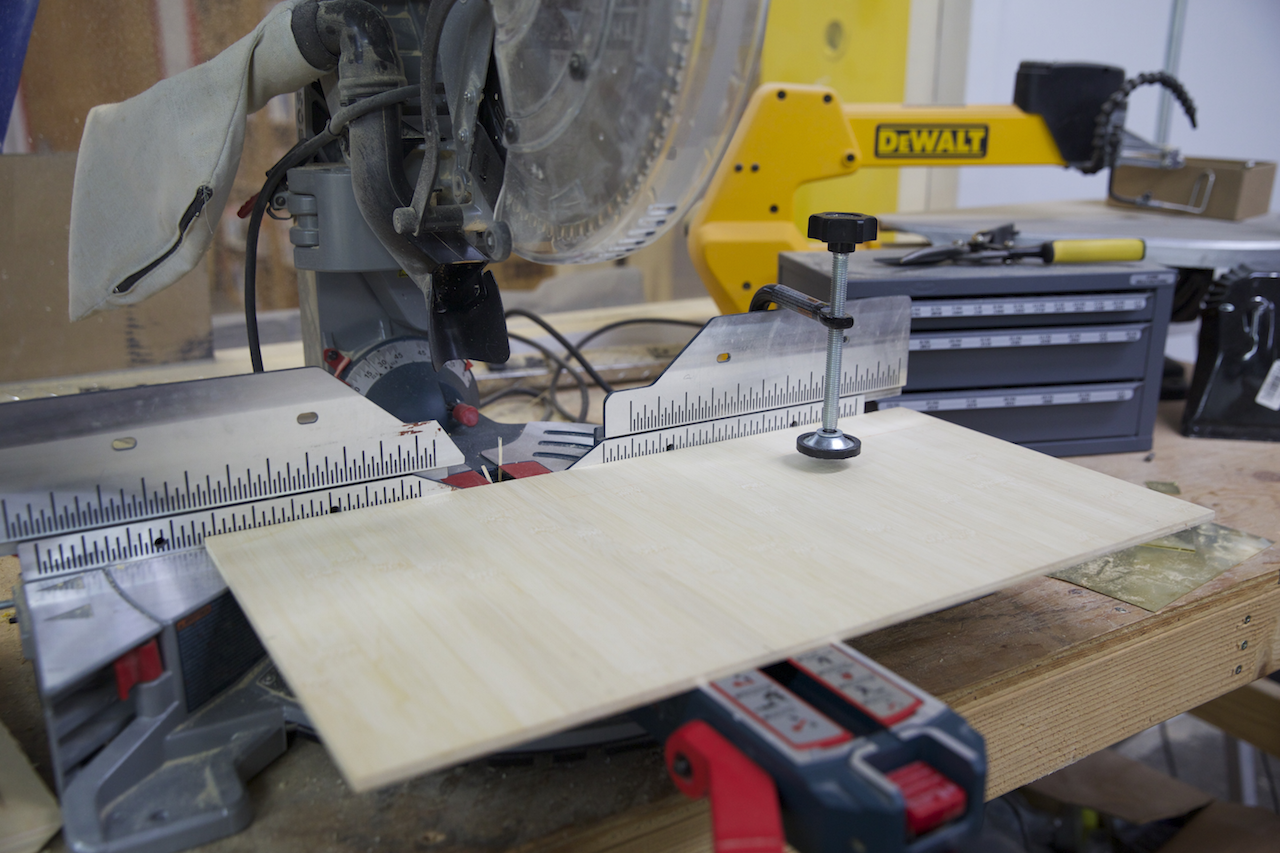
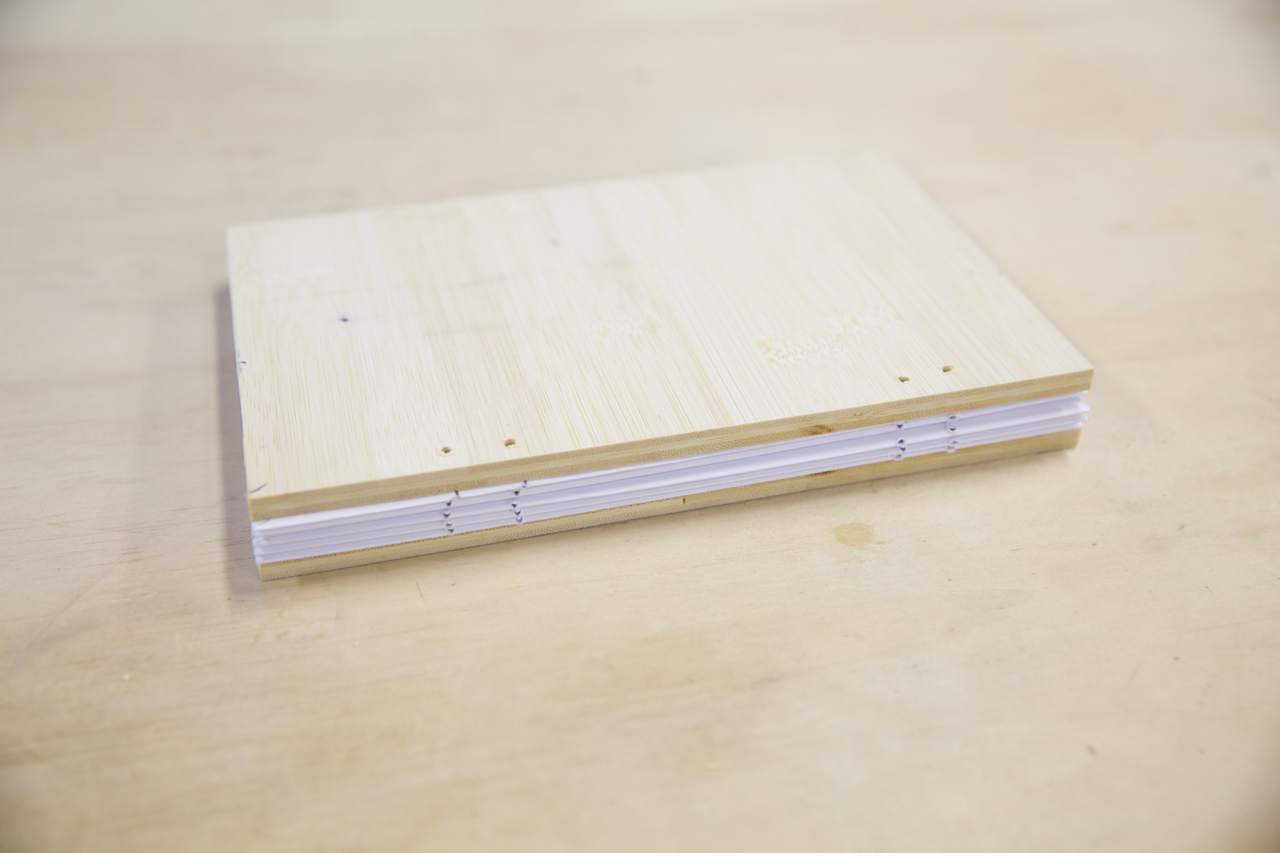
Step #1: Cut the book covers
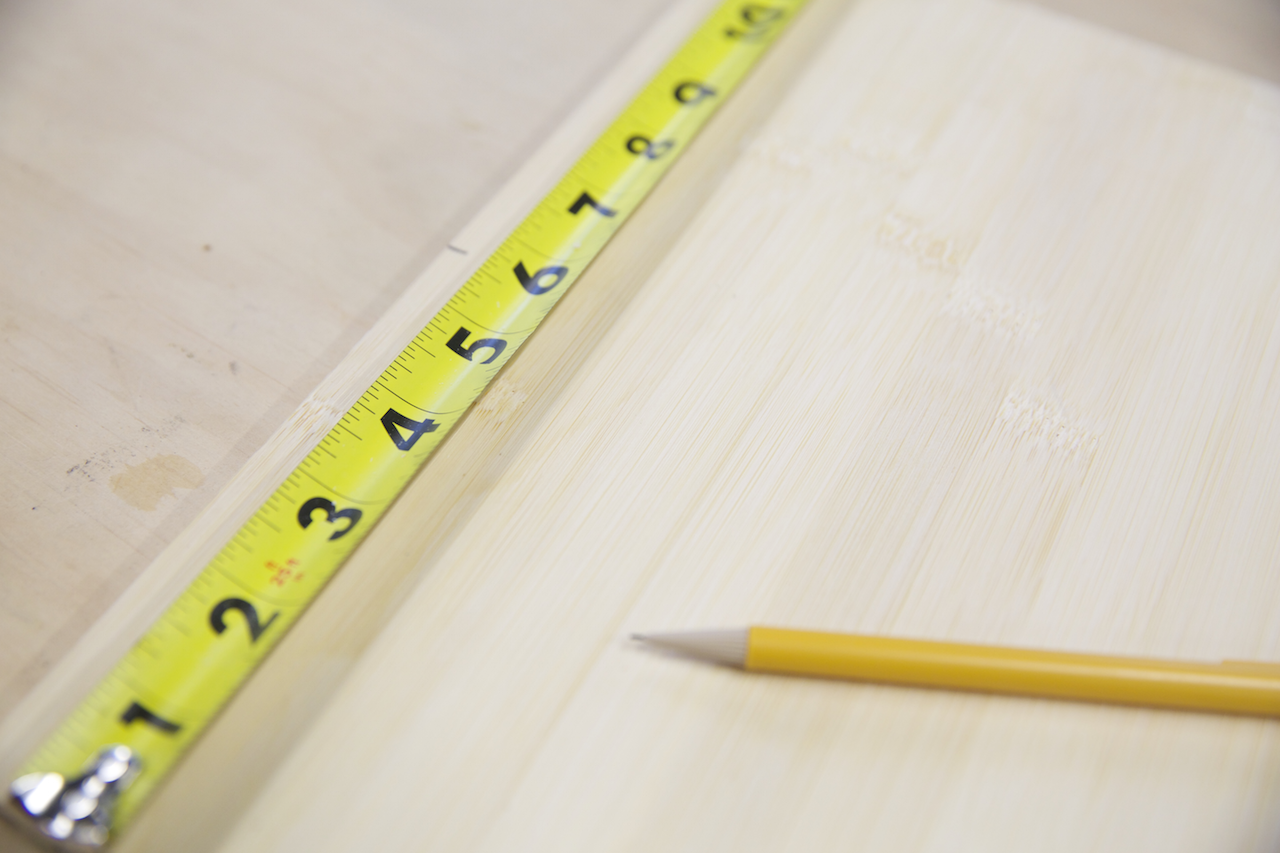
- You can use any size wood or material you would like to make your book. Today we are using a thin Plyboo.
- Measure out your book size using a folded piece of standard paper (8.5"×5.5"). Trace the folded paper out 2 times on your material (8.75"×5.75").
- I’m using a chop saw (compound Miter saw) to cut out the covers of my book. Use sandpaper to smooth out the edges of the covers.
​
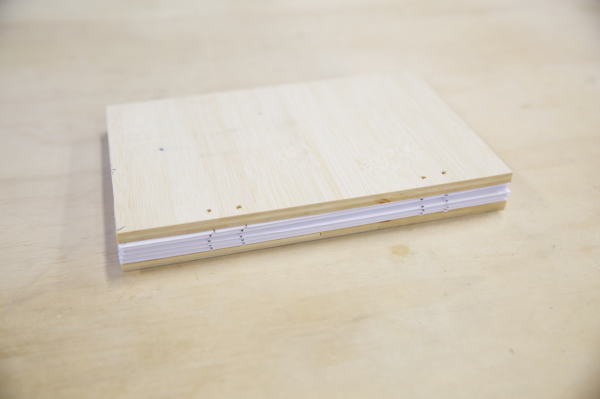
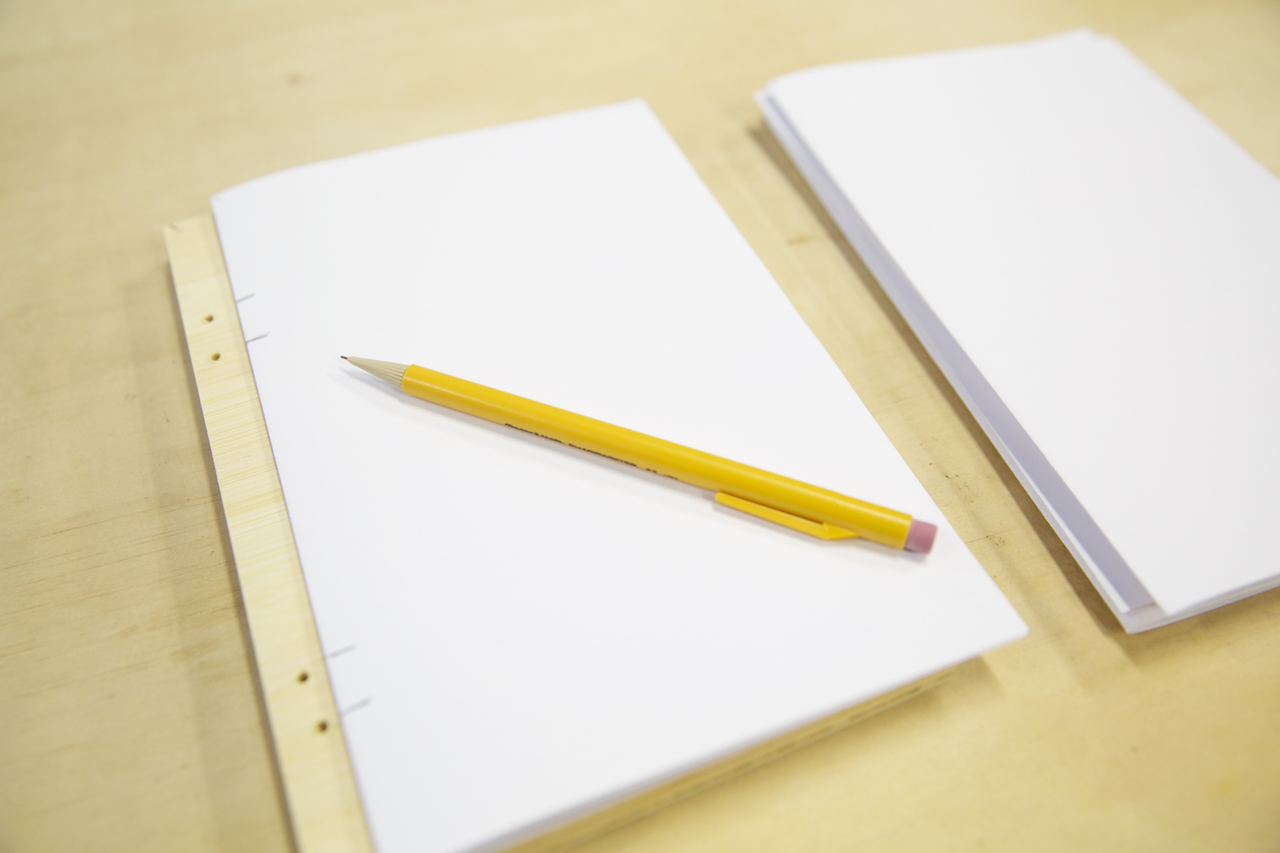
Step #2: Drill the covers

- Tape the covers together using masking tape and measure an inch in from the top and bottom of the covers. Mark a dot on the inch and 2 inch indents and repeat on the bottom.
- Drill the binding holes with a 1/16th bit. Now we are ready to start filling our covers with pages.
Step #3: Fold the signatures
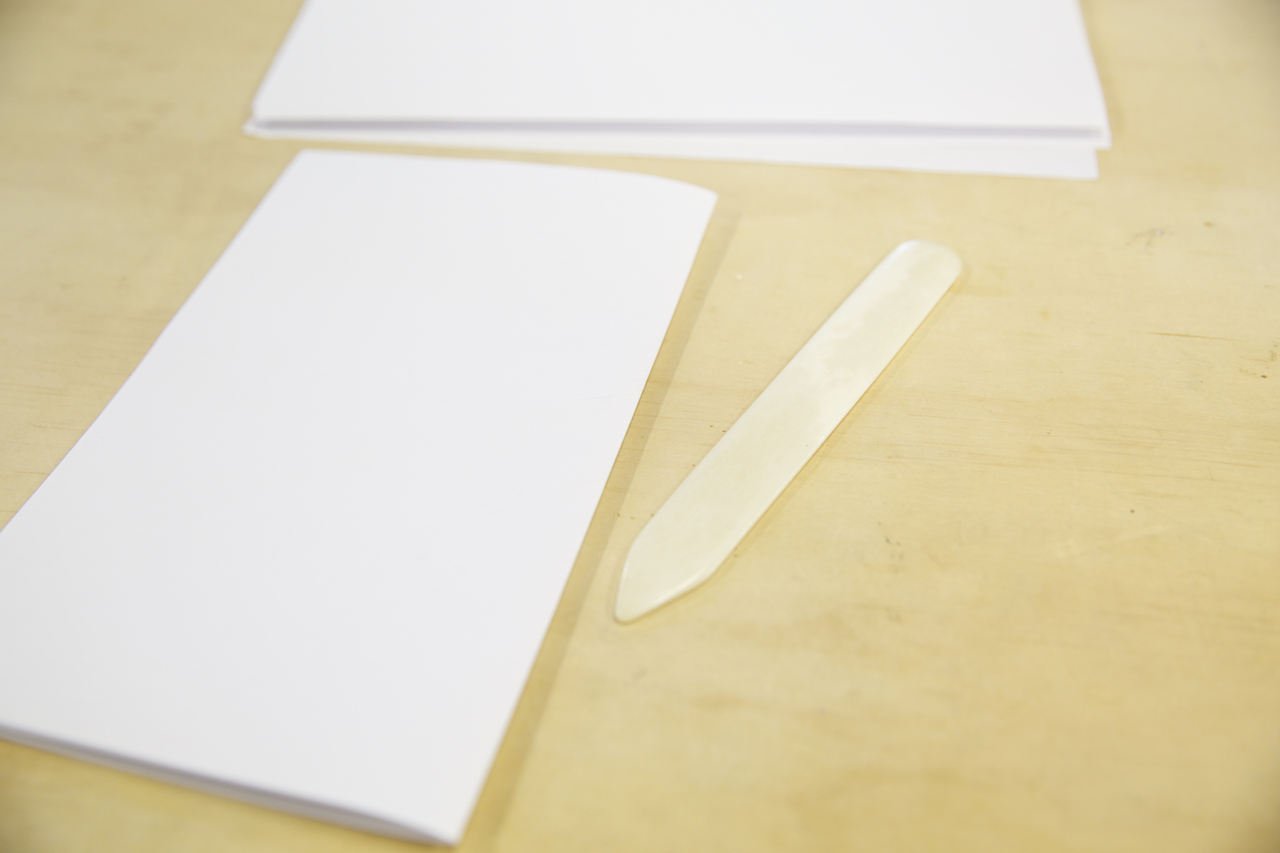

- You can use a variety of paper styles from graph to thick lined paper. I’m using standard printer paper.
- Now let’s fold the “signatures.” Signatures are a group of pages folded together. Our signatures are going to be in groups of five, and my book will have five signatures, giving me a total of 100 pages.
- Count out your pages like this and fold the pages in half with the bone folder to get a sharp edge on your signatures. Once you have folded all of your signatures we can move on to poking the holes in the signatures.
Step #4: Poke holes in the signatures
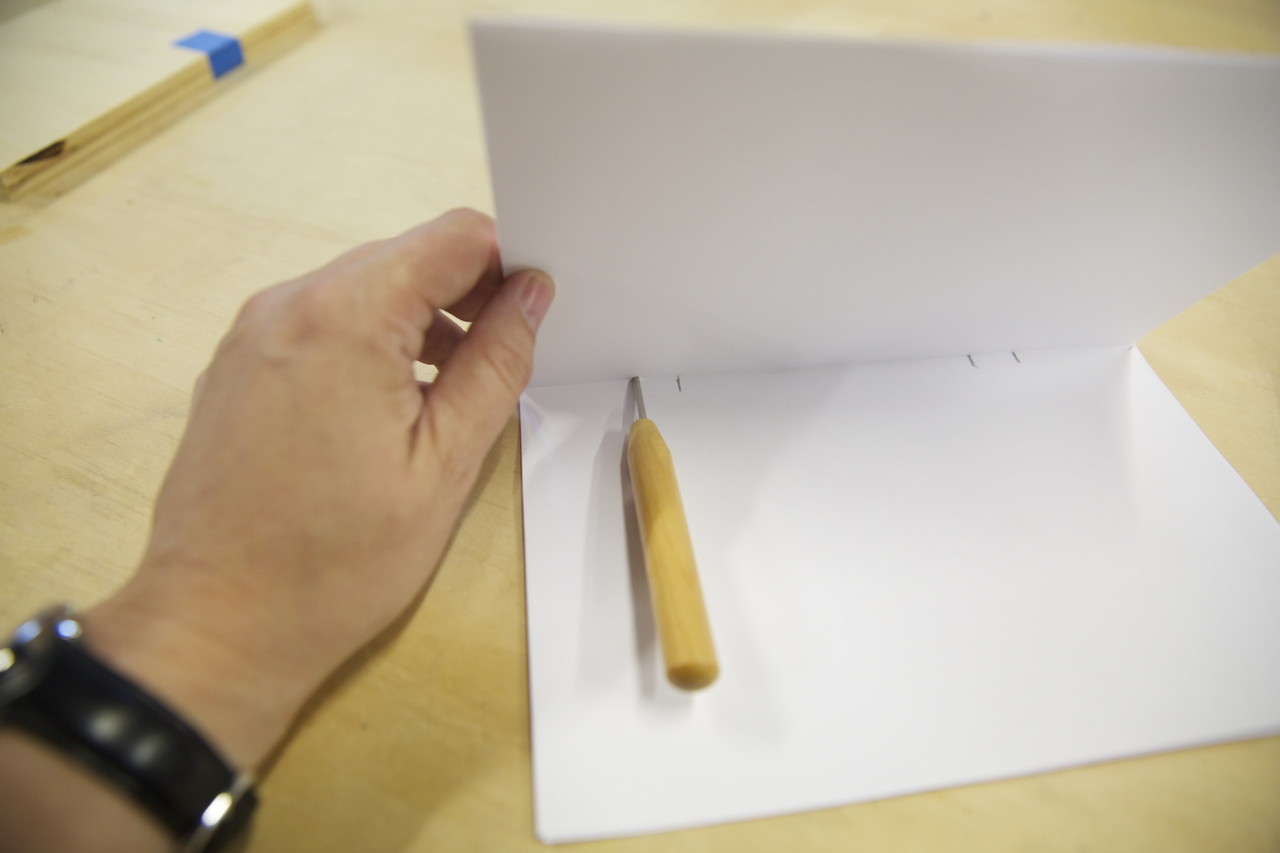
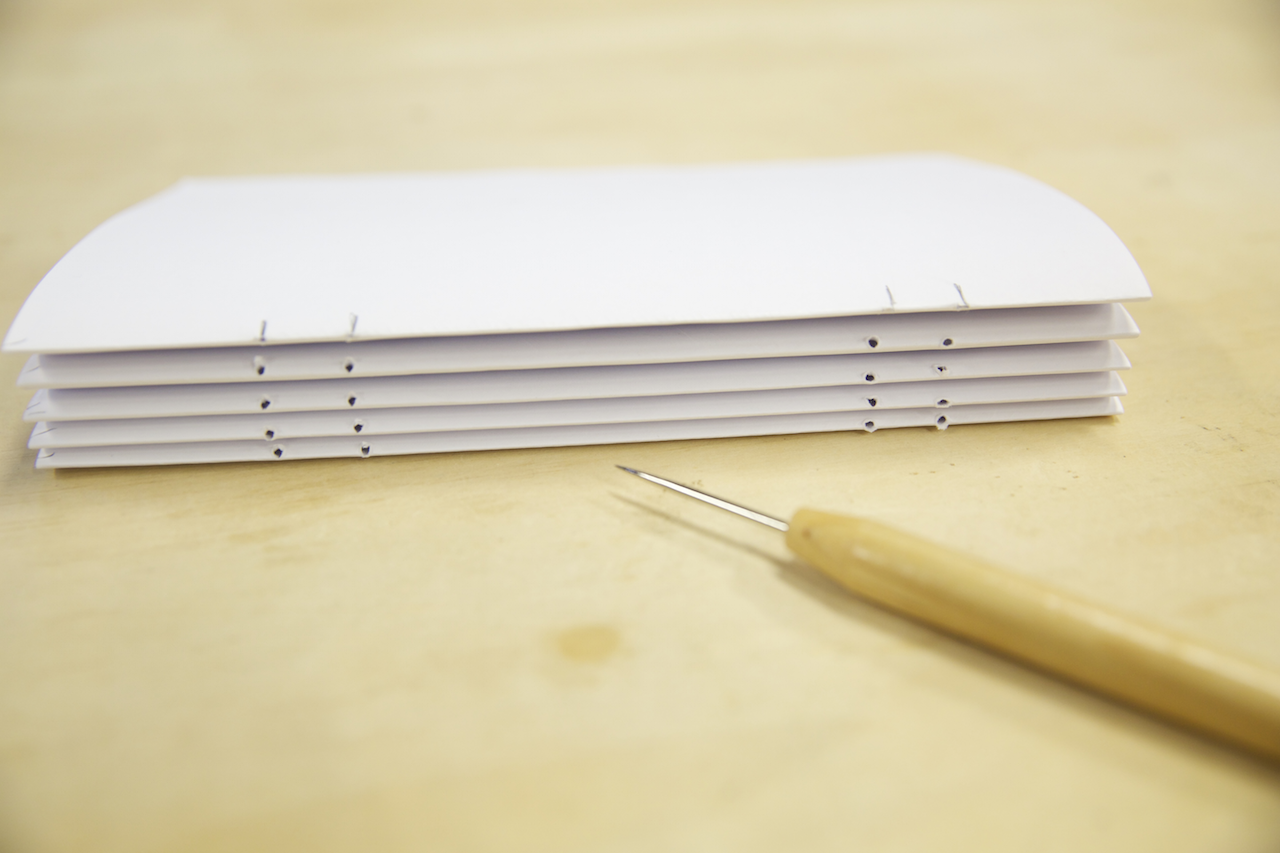
- With a pencil, mark the top left corner of every signature to ensure they are lined up properly. Remove a piece of paper from the signature to use as a guide — line up the paper with the covers and mark the paper where the holes will line up.
- Fold that piece of paper so that the marks are on the inside of the fold. Open the other signatures and use your guide page to poke holes with the awl.
- Once you’re finished, gather all the signatures and guide paper, aligning them with the marks we made earlier. I also recommend marking the top left corner of the outside of the covers as well.
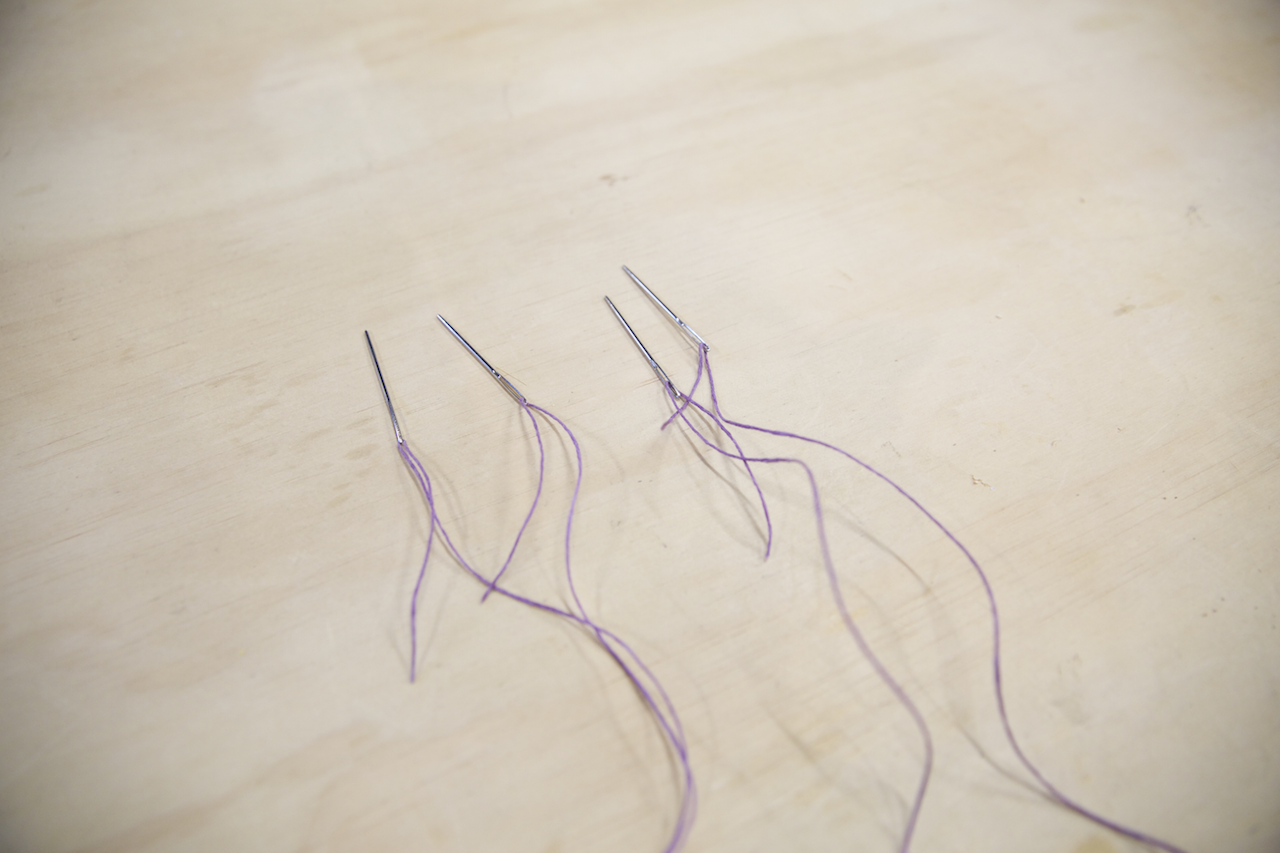
Step #5: Thread the string
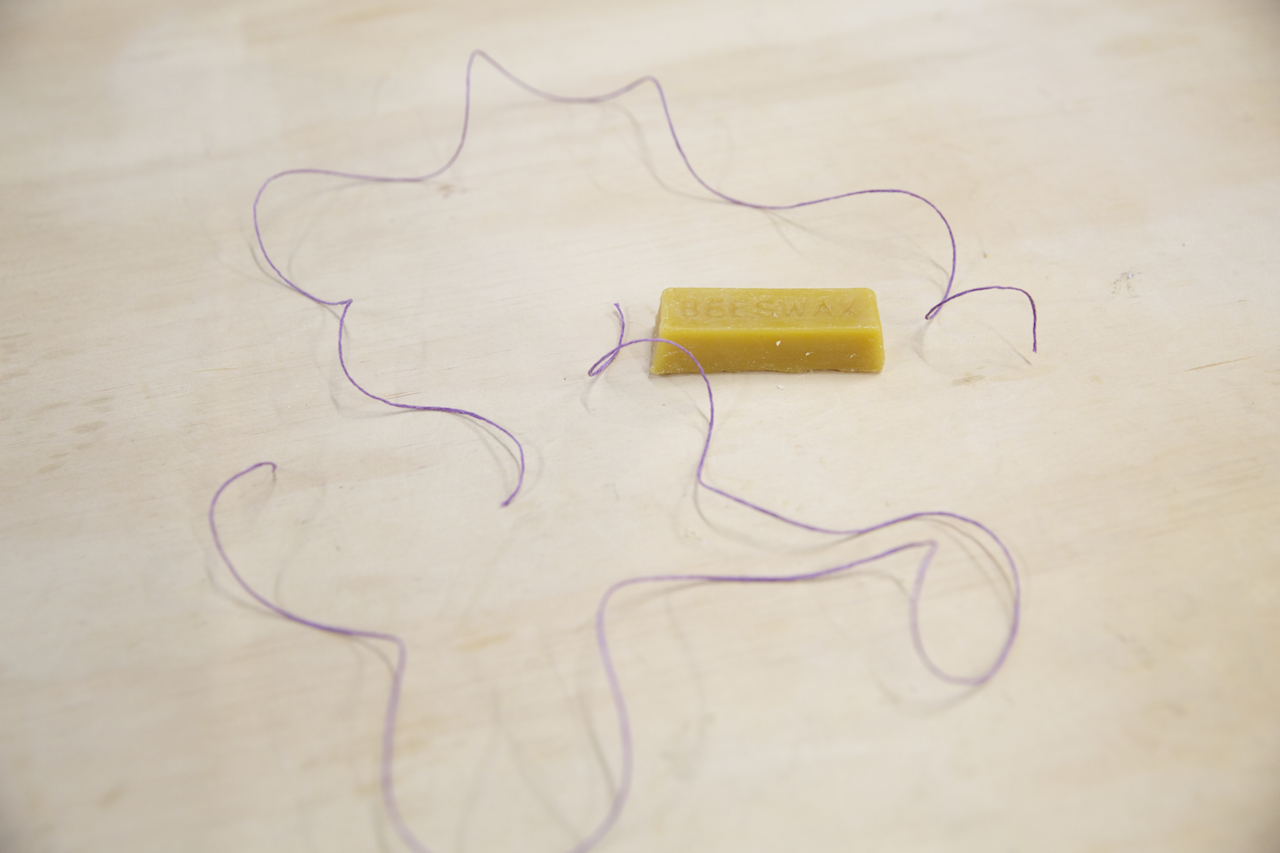
- Cut two sets of string and coat with beeswax (this helps with the string gripping to itself).
- Now thread the string on each side. You should now have two strings with four needles.
Related Post