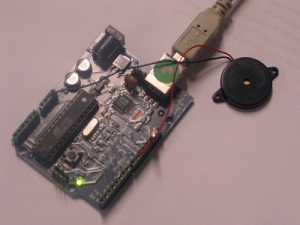
Learn how to hack EEG toys with arduino uno in 6 steps. Here we describe the easy way to work with EEG and Arduino uno. The library file and code and schematic diagram is given here. So you can easily do what you want. This is just a project IDEA for Arduino.
I had heard a few years back about the ability of hooking up toy EEGs so you can interface them with your computer.
I was reminded of this for a project i wanted to do for a class (instructable coming soon ;-)), and i also found a "Star Wars force trainer" on amazon for 30 bucks.
Here is the simple step by step instructions on how to turn a force trainer into a working EEG you can see with your computer.
special thanks to frontier nerds for the initial code and the hack of a similar toy.


Step 1: What you'll need

- Arduino, any kind will do
- Star Wars Force Trainer toy
- A computer running processing and the arduino development enviroment
- solid core wire
- basic soldering supplies
Step 2: Modding the Force Trainer

After you're done messing with the force trainer (its a pretty cool toy), open it up.
You'll be looking for two spots, the ground and a pin labeled "t". make sure the solder doesn't get on any other pins and solder two wires, one from the ground and one from the t pin.
Once that is done, drill a small hold in the force trainer case and feed the wires through.
Step 3: Programming the arduino
Next you want to program the arduino. This code will take the data from the force trainer and spit out some pretty numbers. We will go over what the numbers mean in a later step.
Here is the code: Arduino Brain Library
Install that library and load the serial out example, verify you are getting data from the serial monitor.
Now you are ready to combine the arduino and the force trainer.
Step 4: Hooking up to the arduino

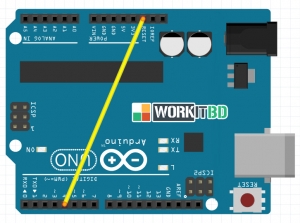
Next, its time to wire the arduino up to the force trainer. Take the wire from ground and wire it to GND on the ardunio, and take the "t" pin wire and plug it into pin 0 (or RX)
I used some zip ties to keep the arduino attached to the top of the force trainer.
Step 5: Visualizing the data

Got it all hooked up? seeing a bunch of numbers? you're doing well. Now get processing running to visualize your data.
Download this set of code and install it: http://github.com/kitschpatrol/Processing-Brain-Grapher/zipball/master
you'll also need this library to run the processing code: http://www.sojamo.de/libraries/controlP5/
Once that is running on your computer, you should see a graph pop up. Hook up your arduino to the computer and you should see some pretty graphs! (see picture)
The force trainer gives you 11 values in this order:
Connection quality, Attention, Meditation, Delta, Theta, Low Alpha, High Alpha, Low Beta, High Beta, Low Gamma and High Gamma.
At first the attention and mediation values will be zero, but once it gets warmed up they will start bouncing around. Try concentrating on things to get the attention up. See what doing different tasks do to get the levels up or down.
Step 6: Next Steps
Now you have a bunch of data you can work with to make your own projects. For me its going to take a bit of time understand the values in such a way so i can hook things up. The possibilites from here are endless. brain controlled pianos? Telepathic tweeting?
I'd love to see your projects from this set up. If you have any suggestions, post them in the comments!
